If you own a home cinema set up, then you may know what it is like to sort through 8 different remotes looking for the specific one that controls the right device.
Home cinemas are often made up of numerous components, and it isn’t uncommon for many of them to have their own dedicated remote.
A part of you may wish that you could pair a few of these devices to the same remote, and thankfully with a little patience and know-how, you can.
Xfinity is a popular cable service that offers access to a range of different entertainment, and media platforms.
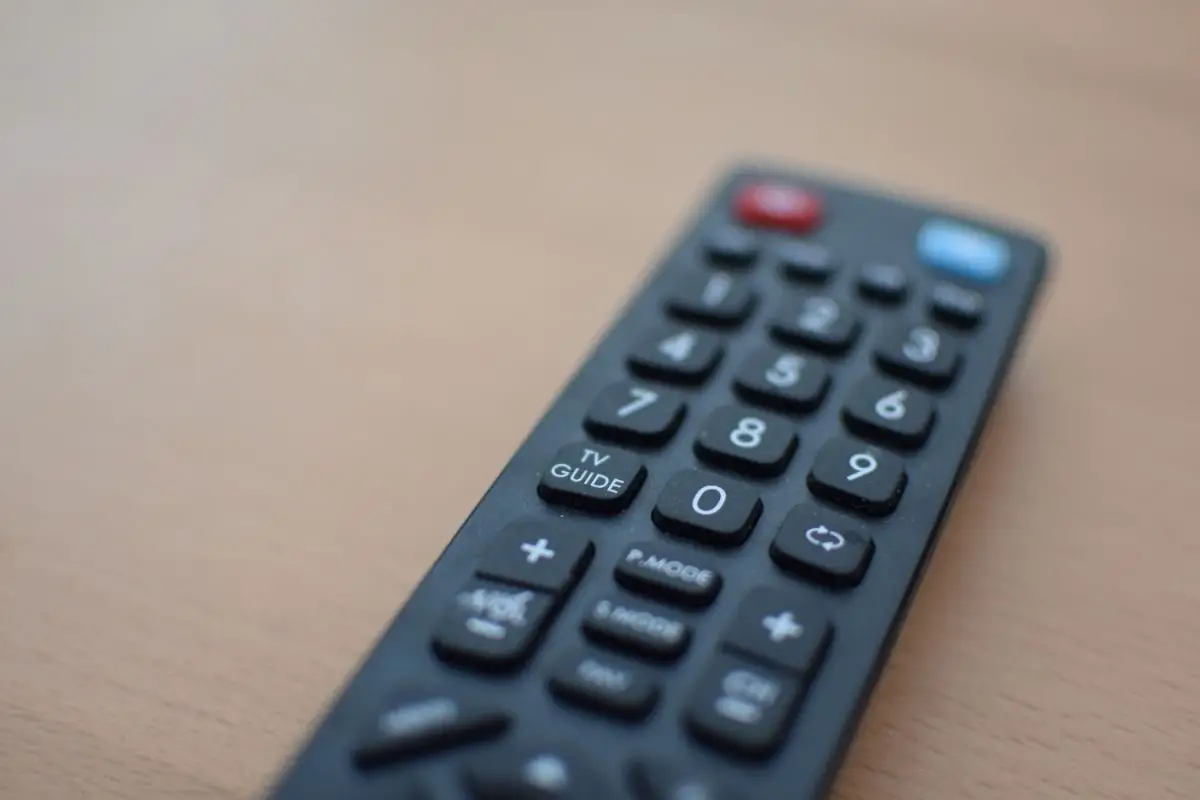
If you have a Xfinity flex box, or other subscription to this service, then you can actually pair the remote that comes with them to other devices in your home cinema set-up.
If you have a sound bar as your main speaker, then this is a great example of a device that is compatible with your Xfinity remote.
You can pair most models of soundbar with a Xfinity controller so that you can control both your TV and speaker from the same set of buttons.
If you want to learn how to pair your soundbar with your Xfinity remote, then read on and this guide will tell you exactly what you need to do.
What Are Xfinity Remotes?
Xfinity is a popular cable and TV service who also specialize in making quality remote controls for TVs and home cinemas.
Their products are designed to be highly programmable, allowing you to use them with a variety of different set-ups.
One of the major advantages of these products is that they can be used to connect to a variety of different TVs and speaker systems across a large selection of brands.
As such, they are a great choice for a universal remote that can control most of the different components in your home cinema set up.
Xfinity’s remotes even have the ability to receive voice commands, which is great if you want to turn up the volume without moving a muscle to reach for the remote.
Will Any Xfinity Remote Work With Any Soundbar?
Most models of soundbar should work fine for the process described in this guide. As long as you can set up a specific speaker as a receiver, then you should have no problem linking it to your Xfinity remote.
Xfinity makes several services and devices, each of which have a slightly different remote layout. While all of their remotes are capable of being paired with a soundbar, the steps required to do so are slightly different.
In this article, we will show you how to pair some of Xfinity’s most popular remotes with your soundbar.
Once you do this, you can use the volume controls for your TV to adjust the audio levels coming out of your speaker system.
Pairing An Xfinity X1 Remote With A Soundbar
If you have a Xfinity X1 remote, then it will only take a few simple steps to pair this item with your soundbar. Once you do this, the volume controls on the remote will affect the audio levels of your speakers, rather than your TV volume.
Here are the steps you need to follow in order to program your X1 remote for a soundbar.
Set Your Sound Bar As The Default Output Receiver
Before you even touch your remote, you should make sure that your soundbar is the default output receiver for your TV.
If this isn’t the case, your TV will automatically default to using its own internal speakers whenever you turn it on, which will be a nuisance when you just want to sit down and watch your favorite shows.
This will often be as simple as going to the settings on your TV and finding the option to set the default audio output. Select your soundbar from the list of options, and your TV will automatically use it as a speaker system.
You should also double-check that your soundbar has a secure connection back to the TV, via either an Optical, or HDMI ARC cable.
Press ‘Setup’
Once you know that your soundbar is correctly connected to your TV and is the default audio output, you need to locate the setup button on your remote.
Hold this button down for a few seconds until the LED at the top of your remote turns from red to green.
Enter The Manufacturer’s Code For Your Soundbar
You should now receive a prompt to enter the manufacturer’s code for your soundbar.
To find this code you may need to find the manual for your soundbar, or the website that you bought it from and look up the specifications for your specific model.
You can also find a list of manufacturers codes for devices that are compatible with Xfinity remotes here.
Once you know what your code is, enter it into the box provided with the number keys on your remote. The LED at the top of your remote should flash twice to signify that it has been successfully programmed.
Test
The final step is to test if your programming attempt has been successful. Fire up your TV, choose any show that you wish and see if the sound is coming out of your sound bar.
Then press the volume controls on your X1 remote to see if they are having any influence on the audio levels.
If the sound is coming out of your TV speakers instead, then you need to go back to step one and make the soundbar your default audio outlet.
You may find that your soundbar is kicking out the sound, but you still can’t control its volume with your remote. In this instance, go back and try the whole process again.
If it still isn’t working, you can try to factory reset your remote by following the steps listed below.
Factory Reset For X1
To factory reset a X1 remote, you need to hold the setup button until the LED at the top of the remote switches from red to green.
Then you can enter the code 9-8-1 with the number buttons. The green light should flash twice to signify that the remote is resetting to its default factory settings.
You can then make another attempt to program your remote to work with your soundbar.
Pairing An Xfinity XR-15 Remote With A Soundbar
To connect a soundbar to a Xfinity XR-15 remote, you can follow a very similar process to the one above. However, there are a few different button combinations that you need to press to get everything set up.
Naturally, you will still want to follow step one of the previous section and make sure that your soundbar is the default receiver output for your TV setup. Once you have done this, follow these steps to program your remote.
Press Both The Xfinity And Mute Buttons
Instead of the setup button, to program a XR-15 remote, you need to press and hold down both the ‘Xfinity’ and ‘Mute’ buttons at the same time.
Just like last time, you should hold these buttons down until the LED at the top of the remote switches from red to green.
Enter The Manufacturer’s Code
Just like last time, you need to enter the 5-digit manufacturer’s code for your soundbar. Do this with the number keys on your remote, and then press enter.
The green LED should flash twice to signify that the remote has been successfully programmed.
Test
Test to see if your efforts have been successful.
Turn on your TV and fiddle with the volume, checking to see whether the sound is coming out of the soundbar in the first place, and if pressing the volume controls is having an effect.
You should also be able to turn your sound bar on and off with the power button. If anything isn’t working as it should, and you have already tried the above steps a second time, then try the factory reset described below.
Factory Reset For XR-15
For a factory reset on the XR-15, press and hold the A and D buttons simultaneously until the LED at the top switches from red to green. You can then enter the code 9-8-1 to begin a factory reset.
Remember, this may take a while, so you might want to put your remote down and leave it for a bit while you do something else.
Pairing An Xfinity XR-16 Remote With A Soundbar
One of the cool things about the XR-16 remote is that it is capable of receiving voice commands, and you can program it using them as well.
The great thing about this is it means you only need to remember a few simple voice commands to have complete control over your TV or home cinema set up.
As always, the first thing you will need to do is make sure your soundbar is the output receiver for your TV and Flex TV Box. Once you have confirmed this, you are ready to program your remote.
Hold The ‘Voice’ Button
The first step is to hold the voice button and issue the command ‘program remote’.
If you want to do this without voice commands, then you can simply navigate to the settings page of your TV box until you find remote settings. Clicking on this option should allow you to access the ‘voice remote pairing’ function.
Follow The On-Screen Instructions
You will receive instructions on your TV screen which will allow you to allocate buttons on the remote to certain devices.
As such, you will want to make sure that the power button controls your TV and that the volume controls are connected to your soundbar.
Test
Once you have set up your remote, check that all the buttons now control the device that you allocated them to. Remember to test not just the buttons, but the voice command feature as well.
You should be able to adjust the audio levels on your sound bar by simply holding the voice button and saying, ‘volume up’ or ‘volume down’ accordingly.
If it hasn’t worked, repeat the above steps at least one more time before attempting a factory reset, as described below.
Factory Reset
To factory reset your XR-16 remote, you need to press the ‘i’ button and ‘Home’ button simultaneously until the status light on your remote starts blinking.
Once you have done this, you need to press the following buttons in sequence to begin the factory reset: ‘Power’, ‘Last (<-Arrow)’ and ‘Volume Down’.
Doing this will begin the factory reset, which may take a few minutes to complete. Do not turn off the remote or your TV box while this is happening.
Pairing An Xfinity XR-11 Remote With A Soundbar
This is the last remote we will be looking at today, which offers the ability to connect to your soundbar via RF pairing.
If your sound bar is compatible with this feature, then you should be able to pair it to your remote by simply pressing the setup button until the LED at the top turns green.
Then you can press the XFINITY button, which will bring up a prompt for you to enter a 3-digit code.
This code should be easy to find if your device is compatible with this feature, and if you can’t find one then it is likely you will need to manually program your remote.
This is done by following the exact same steps to Xfinity X1, so go back to that section and follow the instructions to program your remote using a 5-digit manufacturer’s code.
Troubleshooting
If you have tried a factory reset, and are still struggling to program your remote, then you may have a defective product.
In this case, you should call Xfinity to see what their customer support team can do to help. They may highlight something you are doing wrong, or offer to send you out a new remote.
Conclusion
Connecting your Xfinity remote to your soundbar will make watching TV a much more enjoyable experience.
Instead of having to sort through multiple remote controls to find the one you want, you can just keep your Xfinity one close to hand and leave the others under the TV stand.
We have only covered four of Xfinity’s available remotes, but many of their other products will be able to connect to soundbars as well by following very similar steps to the ones listed above.
Once you’re done, you’ll be free to kick back, relax and watch your favorite films, comfortable in the knowledge that the audio levels are completely under your control.
- How Do I Connect My Samsung Soundbar To Bluetooth? - February 5, 2024
- How To Connect Soundbar To TV With Optical Cable? - February 5, 2024
- How to Choose the Right Audio System for Your Home Theater Setup - April 25, 2023



![Best Soundbar For Hisense TV [7 Top Picks] Best Soundbar For Hisense TV](https://www.cinemaequip.com/wp-content/uploads/2022/01/Best-Soundbar-For-Hisense-TV-1-150x150.jpg)
